customer loves your products, fills their cart, and heads to the checkout… only to abandon it at the final step. More often than not, a slow, complicated checkout process is the silent conversion killer. As a store owner, this is incredibly frustrating. You’ve done the hard work of attracting a customer, only to lose them at the finish line due to friction they shouldn’t have to experience. This guide will show you how to create a faster checkout in WooCommerce, cutting through the noise to give you 9 actionable, expert-vetted tips. By implementing these strategies, you’ll learn how to significantly reduce cart abandonment, boost your sales, and build lasting customer trust.
How to Create a Faster Checkout in WooCommerce
The Real Cost of a Slow Checkout
In the world of eCommerce, speed isn’t just a feature; it’s the foundation of the customer experience. A slow, clunky checkout process doesn’t just test a user’s patience—it actively costs you money and erodes your brand’s reputation. Understanding the tangible impact of checkout speed is the first step toward prioritizing its optimization. The numbers are staggering. According to the Baymard Institute, a leading authority on eCommerce user experience research, over 20% of shoppers abandon their carts specifically because the checkout process was too long or complicated. For a store earning just $10,000 per month, that translates into a potential loss of $2,000 every single month from a problem that is entirely fixable. This isn’t just a one-time loss; it’s a leaky bucket that constantly drains your revenue and marketing ROI.
The damage, however, extends far beyond the immediate lost sale. A frustrating checkout experience can tarnish a customer’s perception of your entire brand. First impressions are critical, and for many new customers, the checkout is their first direct, intensive interaction with your operational efficiency. If it’s slow, they may assume your shipping, customer service, and product quality are equally subpar. This creates a ripple effect:
- Impact on Conversion Rates: This is the most direct metric. Every second of delay during checkout corresponds to a measurable drop in conversions. Amazon famously calculated that a one-second page load slowdown could cost them $1.6 billion in sales each year. While your store may not operate on that scale, the principle remains the same. A faster, more streamlined process keeps the customer’s buying momentum going, guiding them smoothly from decision to purchase confirmation.
- Building Customer Trust and Loyalty: A seamless checkout signals professionalism and respect for the customer’s time. When users can complete a purchase quickly and without hassle, it builds confidence in your brand. They are more likely to return for future purchases, knowing that the process will be easy. Conversely, a single bad experience can send them to a competitor for good.
- Improving the Mobile Shopping Experience: With over half of all web traffic coming from mobile devices, a fast and simple mobile checkout is non-negotiable. Mobile users are often less patient and more easily distracted. Complex forms that are difficult to fill out on a small screen are a primary driver of mobile cart abandonment. Optimizing for speed directly enhances the mobile experience, capturing a massive and growing segment of the market.
- Gaining a Competitive Edge: In a crowded marketplace, user experience is one of the most powerful differentiators. If your checkout process is noticeably faster and easier than your competitors’, you create a compelling reason for customers to shop with you. Speed becomes part of your brand promise.
Ultimately, investing in a faster checkout process is not an expense; it’s one of the highest-return investments you can make in your eCommerce business. It directly plugs a major revenue leak, enhances brand perception, and builds a foundation for long-term customer loyalty.
How to Create a Faster Checkout in WooCommerce (9 Expert Tips)
Tip 1: Declutter Your Form: Simplify the WooCommerce Checkout Page
Why it’s important: Every single field you ask a customer to fill out is a point of friction. It adds cognitive load (making them think), physical effort (making them type), and precious seconds to the checkout process. The goal is to get from A (cart) to B (purchase complete) with the least resistance possible. By auditing and removing unnecessary fields, you are not just making the page look cleaner; you are fundamentally reducing the work required to give you money. This simple act can have a dramatic impact on your conversion rate, especially on mobile devices where typing is more cumbersome.
How to do it: Your mission is to challenge every field and ask, “Is this absolutely essential for processing this specific order?”
- Audit Your Current Fields: Go through your checkout page as if you were a new customer. Ask yourself:
- Do I really need the “Company Name” field if I primarily sell to individuals?
- Is the “Address Line 2” field necessary, or does it just confuse people? (Most users who need it will append it to Address Line 1).
- Do I need a customer’s phone number? (Check if your payment gateway or shipping provider requires it. If not, consider making it optional or removing it).
- Use the WordPress Customizer: For some fields, WooCommerce allows you to hide them directly. Navigate to
Appearance > Customize > WooCommerce > Checkout. Here, you can often hide fields like the company name, address line 2, and phone field. This is the quickest and safest method. - Use a Plugin for Ultimate Control: For full control to remove, edit, or rearrange any field, a dedicated plugin is your best bet.
Expert Insight: We highly recommend the Checkout Field Editor plugin from Theme High. It provides a simple, intuitive interface to manage all your billing, shipping, and additional fields without touching a line of code. However, a crucial word of caution: before you remove a field, always double-check that it isn’t required by your payment gateway or shipping integration. For example, Stripe’s Radar fraud protection can be more effective with more data, and some shipping carriers require a phone number for delivery notifications. Removing a required field can lead to silent payment processing errors or shipping issues. Always place a test order after making changes to ensure everything still functions perfectly.
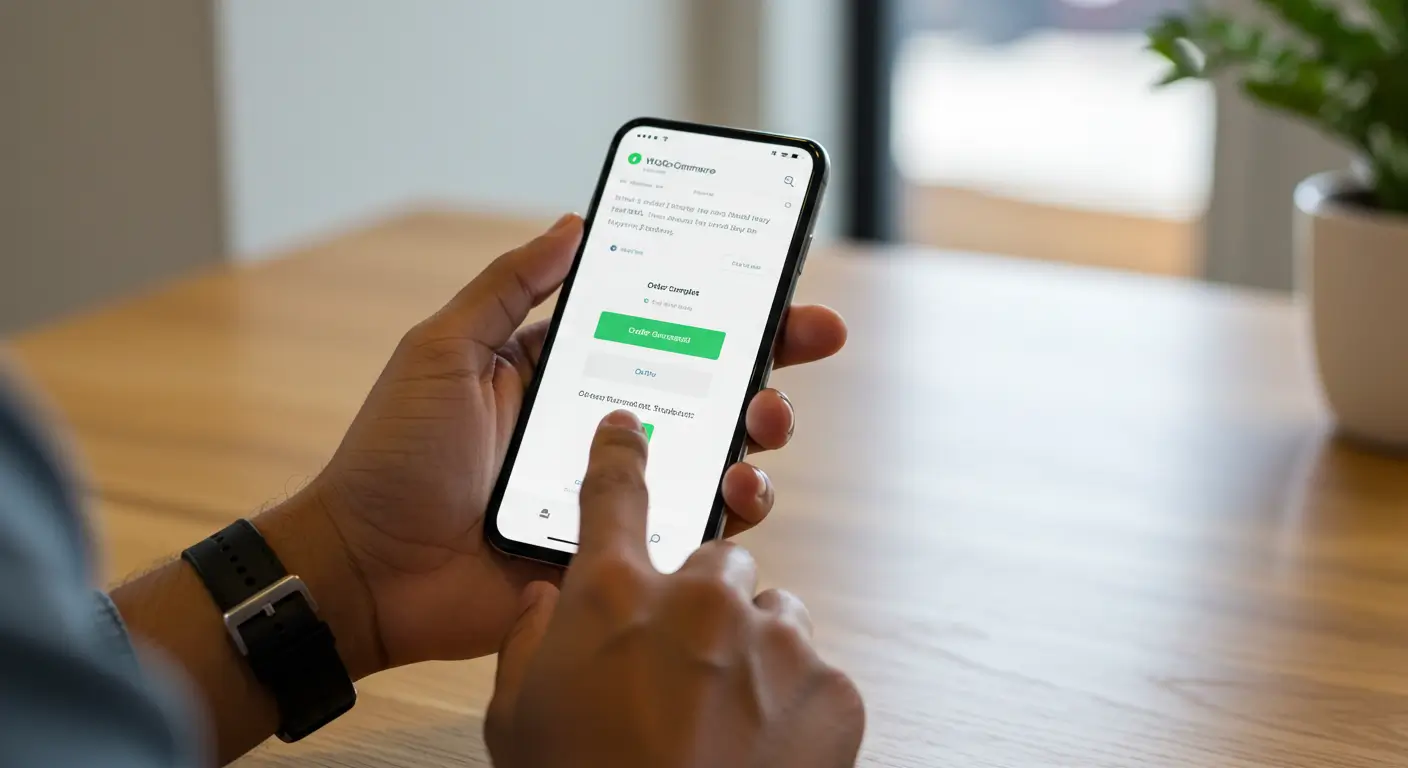
Tip 2: Reduce Checkout Steps with a One-Page or Direct Checkout
Why it’s important: The classic multi-step checkout (Cart -> Checkout Details -> Payment -> Confirmation) creates several opportunities for a customer to second-guess their purchase or simply run out of patience. Each click to a new page requires a full page load and a mental reset. By condensing this process, you maintain the customer’s buying momentum and make the journey to purchase feel significantly shorter and more efficient. The psychological effect is powerful; seeing the entire process on one screen makes it feel more manageable and transparent.
How to do it: There are two primary strategies to reduce checkout steps: a one-page checkout or a direct-to-checkout flow.
- One-Page Checkout: This combines the cart contents, shipping details, and payment information onto a single, streamlined page. Customers can review their order and pay without any intermediate page loads.
- Direct Checkout / Skip Cart: This popular option sends the customer straight to the checkout page the moment they add an item to their cart, completely bypassing the cart page. This is excellent for stores that typically sell single items or for targeted marketing campaigns where the goal is an immediate purchase.
To implement these, you’ll generally need a plugin.
Expert Insight: While one-page checkouts are incredibly powerful, there’s a common pitfall: creating a single page that is overwhelmingly long and cluttered. This can be just as bad as a multi-step process, especially on mobile. We recommend using a solution like FunnelKit or the Merchant plugin, which allows you to create beautiful, optimized one-page checkouts. The key is to use smart design. Employ collapsible sections (accordions) for the order review or payment options. This keeps the initial view clean and simple, allowing the user to focus on one section at a time without feeling intimidated by a massive form. Always ensure the “Place Order” button is visible without excessive scrolling.
Tip 3: Welcome Everyone: Enable Guest Checkout
Why it’s important: Forcing a new customer to create an account before they can make a purchase is one of the biggest conversion killers in eCommerce. It erects a massive wall right at the finish line. New shoppers are often hesitant to commit to creating an account; they don’t know if they’ll shop with you again, they don’t want another password to remember, and they’re wary of receiving spam emails. Requiring registration screams “commitment,” while the customer is still in a “transaction” mindset. Offering a guest checkout option removes this barrier entirely, respecting the customer’s desire for a quick, anonymous transaction.
How to do it: Thankfully, this is one of the easiest and most impactful changes you can make.
- From your WordPress dashboard, navigate to
WooCommerce > Settings. - Click on the
Accounts & Privacytab. - Look for the “Guest checkout” section and check the box that says “Allow customers to place orders without an account.”
- While you’re here, you can also uncheck the box that says “Allow customers to create an account during checkout” if you want to only allow guest checkouts, though it’s generally best to provide the option.
- Save your changes.
Expert Insight: The ideal setup offers the best of both worlds: a frictionless guest checkout with a frictionless option to create an account after the sale. In the Accounts & Privacy settings, enable the option “When creating an account, automatically generate an account username for the customer based on their name, surname or email” and “When creating an account, automatically generate an account password.” This means the customer’s account is created behind the scenes, and they receive their login details in their order confirmation email. They complete the purchase as a guest, but the system creates an account for them for future convenience. This is a powerful, user-friendly strategy to encourage sign-ups without ever hindering the initial conversion.
Tip 4: Go Lightweight: Speed Up WooCommerce Checkout Without a Plugin
Why it’s important: While plugins are fantastic for adding functionality, every active plugin adds a small amount of overhead to your site. For performance purists or developers who want to keep their site as lean as possible, making direct modifications via code is the optimal path. This approach gives you granular control and ensures you’re not loading extra scripts or styles that you don’t need. It’s the most lightweight method for customizing your checkout fields, directly addressing the “simplify your form” tip without any third-party dependencies.
How to do it: This method involves adding a small piece of PHP code to your site. The best practice is to use a child theme’s functions.php file or a dedicated code snippets plugin. Do not edit your main theme’s functions.php file directly, as your changes will be erased the next time the theme is updated.
Here is a simple, well-commented code snippet to remove the “Company Name” and “Phone” fields from the billing form:
/**
 * Hook into the checkout fields filter to modify them.
 *
 * @param array $fields The original array of checkout fields.
 * @return array The modified array of checkout fields.
 */
add_filter( 'woocommerce_checkout_fields', 'custom_override_checkout_fields' );

/**
 * Our custom function to unset (remove) unneeded checkout fields.
 */
function custom_override_checkout_fields( $fields ) {
    // To remove a field, you use unset().
    // The structure is $fields['section']['field_name'].
    // 'billing' is the section for billing details.

    // Remove the Company Name field
    unset( $fields['billing']['billing_company'] );

    // Remove the Phone field
    // Note: Only do this if your payment/shipping provider doesn't require it!
    unset( $fields['billing']['billing_phone'] );

    // Remove the Address 2 field
    unset( $fields['billing']['billing_address_2'] );

    // You can also do this for shipping fields
    unset( $fields['shipping']['shipping_company'] );

    return $fields;
}
Expert Insight: We strongly recommend using the Code Snippets plugin by WPCode. It provides a safe, easy-to-manage interface for adding PHP snippets like the one above without ever needing to touch your theme files. You can turn snippets on and off with a click, which is perfect for testing. Furthermore, if you make a mistake in your code, the plugin will automatically deactivate the snippet to prevent it from crashing your site—a lifesaver for those who are not seasoned developers. This gives you the performance benefit of direct code with the safety and convenience of a plugin.
Tip 5: Optimize for On-the-Go Shoppers: Improve Mobile Checkout Conversion
Why it’s important: The modern customer journey no longer starts and ends on a desktop computer. It’s fluid, often beginning on social media on a phone, continuing on a tablet, and perhaps finishing on a laptop. More frequently, the entire process happens on a single smartphone. If your checkout page is not flawlessly optimized for these small screens, you are effectively closing your doors to a majority of potential buyers. “Pinching and zooming” to fill out forms, tapping tiny buttons, and slow load times on mobile networks are guaranteed ways to lose a sale. A mobile-optimized checkout isn’t a feature; it’s a fundamental requirement for survival in modern eCommerce.
How to do it: Mobile optimization is a multi-faceted approach:
- Use a Responsive Theme: This is the absolute baseline. Your theme must be designed to adapt gracefully to any screen size. Modern, reputable themes handle this well out of the box.
- Ensure Large, Tappable Elements: All form fields, buttons, and links should be large enough to be easily tapped with a thumb without accidentally hitting something else. There should be ample spacing between interactive elements.
- Simplify the Layout: What works on a desktop can look cluttered on mobile. Consider a single-column layout for the checkout form. Hide non-essential elements that might distract from the primary goal of completing the purchase.
- Use Mobile-Friendly Payment Options: Integrate express payment methods like Apple Pay and Google Pay. These are designed for mobile and allow users to pay with a fingerprint or face scan, bypassing the need to manually type in credit card details. (See Tip 6 for more on this).
- Optimize Keyboard Display: Use the correct HTML5 input types for your form fields. For example, using
type="email"for the email field will bring up a keyboard with the “@” symbol, andtype="tel"for the phone number field will bring up a numeric keypad. These small tweaks make a big difference in user experience.
Expert Insight: Automated testing tools are valuable, but nothing replaces manual, real-world testing. Regularly go through your entire checkout process on your own phone (both on Wi-Fi and on a cellular network). Better yet, ask friends or family who are unfamiliar with your site to do the same and watch them. You will be amazed at the human usability issues you uncover. Do they hesitate? Where do they get stuck? Is the text legible? This qualitative feedback is gold. It will reveal friction points that no automated tool can detect, allowing you to make user-centric improvements that truly enhance the mobile checkout flow.
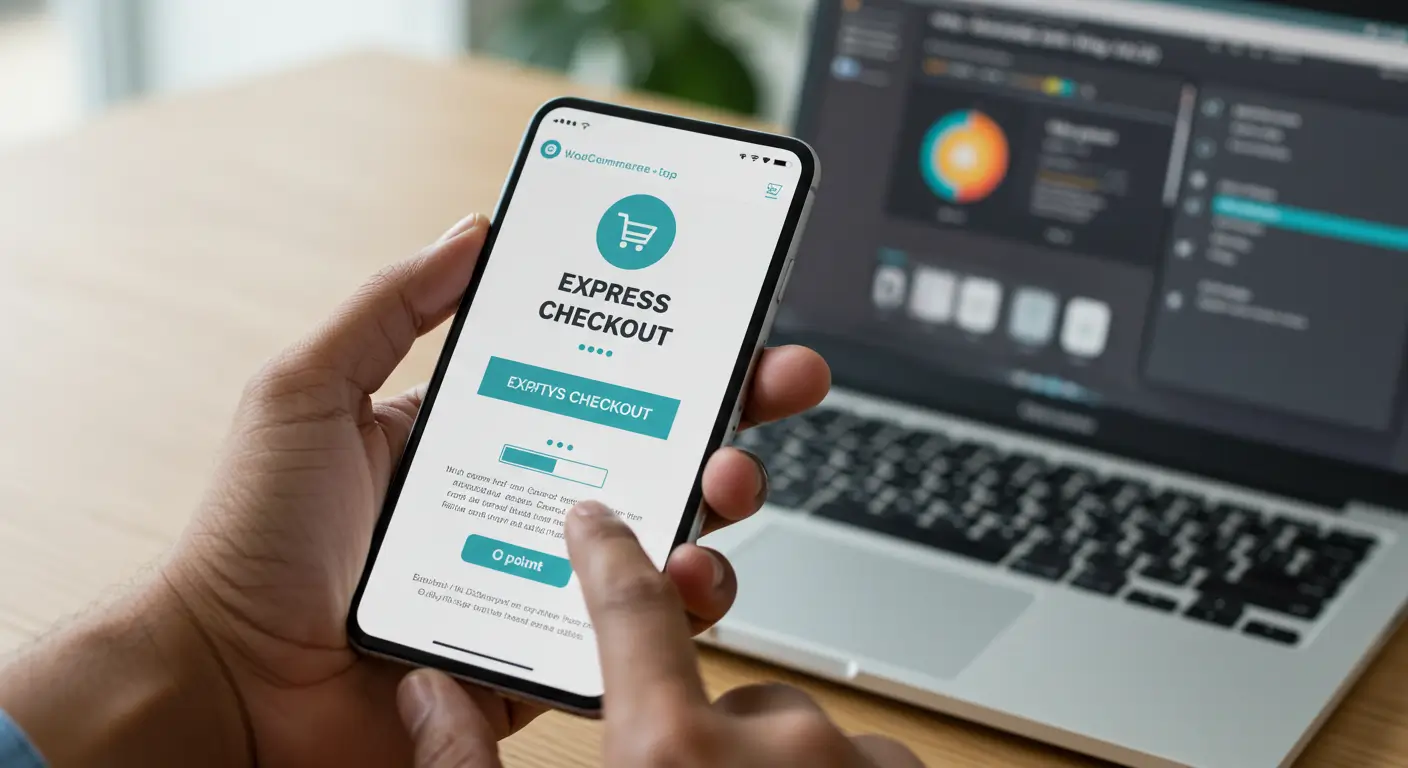
Tip 6: Offer Express Payments (Apple Pay, Google Pay, PayPal)
Why it’s important: Express payments are the ultimate shortcut to a faster checkout. These methods leverage the payment and shipping information securely stored on a customer’s device (via Apple Pay or Google Pay) or in their digital wallet account (like PayPal or Amazon Pay). This allows the customer to bypass almost the entire checkout form. Instead of manually typing their name, address, and credit card number, they can complete the purchase with a single tap, a fingerprint, or a face scan. This dramatically reduces the time and effort required to check out, leading to a significant increase in conversions, especially on mobile.
How to do it: Implementation is typically handled through your payment gateway.
- Choose a Supporting Gateway: The most popular and robust option is Stripe. The official Stripe for WooCommerce plugin provides seamless integration for Apple Pay and Google Pay, which they call “Payment Request Buttons.” PayPal also offers its own express checkout options.
- Enable in Settings: Once your gateway plugin is installed and connected, navigate to its settings within WooCommerce (
WooCommerce > Settings > Payments). - Activate Express Methods: You will see options to enable Apple Pay / Google Pay. Simply check the box. The gateway will handle displaying the button to customers on compatible devices and browsers (e.g., Apple Pay will only show to users on a Safari browser on an Apple device).
- Configure Button Placement: Most plugins allow you to choose where the express payment buttons appear. You can place them on the product page, cart page, and at the top of the checkout page.
Expert Insight: For maximum impact, you must place the express payment buttons at the very top of your checkout page, even before the traditional billing and shipping forms. This is the most critical part of the strategy. The goal is to allow eligible users to completely bypass the form. If you place the buttons after the form, you defeat the purpose. By presenting this shortcut upfront, you empower returning customers and mobile users to complete their purchase in seconds, creating a truly “lightning-fast” checkout experience that they will remember and appreciate.
Tip 7: Know Your Speed: How to Test WooCommerce Checkout Speed
Why it’s important: You cannot improve what you do not measure. While it’s easy to “feel” if a site is slow, having concrete data is essential for identifying the real bottlenecks. Standard website speed testing tools like GTmetrix or Google PageSpeed Insights are excellent for measuring static pages like your homepage, but they are not effective at analyzing the dynamic, multi-step process of a checkout. The most critical moment—the processing that happens after a customer clicks “Place Order”—is often a black box. Learning how to properly test this specific action is key to diagnosing and fixing deep-seated performance issues.
How to do it: The best tool for this job is already built into your browser: the Developer Tools. Here’s a step-by-step guide using Google Chrome:
- Open an Incognito Window: This ensures your test isn’t affected by your browser’s cache or your logged-in status.
- Navigate to Your Checkout Page: Add an item to your cart and proceed to the checkout page. Fill out all the necessary details.
- Open Developer Tools: Right-click anywhere on the page and select “Inspect,” or press
F12(orCmd+Option+Ion Mac). - Go to the “Network” Tab: Click on the “Network” tab within the developer tools panel.
- Click “Place Order”: With the Network tab open, click the final “Place Order” button on your site.
- Analyze the Results: You will see a “waterfall” chart of all the files and requests being loaded. The most important one to look for is a request named
?wc-ajax=checkoutor similar. Click on this request. - Check the Timing: A new panel will open. Click on the “Timing” tab. Look for the “Time to First Byte” (TTFB) or “Waiting (TTFB)” time. This number represents how long your server spent “thinking” before it started sending back a response.
Expert Insight: That ?wc-ajax=checkout request is where the magic happens. It’s your server processing the order, communicating with the payment gateway, updating the database, and triggering confirmation emails. A long “Waiting (TTFB)” time on this specific request (e.g., more than 2-3 seconds) is a major red flag. It often points to a server-side performance issue, not a front-end problem. This could be caused by:
- A slow payment gateway response.
- An overloaded or underpowered web hosting server.
- A poorly coded plugin that is hooking into the checkout process.
- A bloated database. Knowing this allows you to focus your optimization efforts in the right place instead of wasting time on front-end tweaks that won’t solve the core problem.
Tip 8: Choose a Solid Foundation: Use a Performance-Optimized Theme
Why it’s important: Your WordPress theme is the foundation upon which your entire store is built. It controls the layout, design, and a significant portion of the front-end code that loads on every single page—including the checkout. If your theme is bloated, poorly coded, or packed with dozens of features you don’t use, it acts like a dead weight, slowing down your entire site. A slow theme will inevitably lead to a slow checkout, no matter how much you optimize your fields or plugins. Choosing a lightweight, performance-focused theme is one of the most impactful decisions you can make for your store’s overall speed and health.
How to do it: The key is to prioritize speed and efficiency over a long list of flashy features.
- Research and Select a Lightweight Theme: Look for themes that are known in the WordPress community for their clean code and small footprint. Some of the most reputable performance-focused themes include:
- Astra: Incredibly popular, flexible, and known for its blazing-fast performance.
- GeneratePress: A favorite among developers for its tiny size (less than 10kb gzipped) and clean, stable code.
- Kadence: Offers a great balance of powerful features and excellent performance, with deep WooCommerce integration.
- Avoid “ThemeForest-style” Multipurpose Themes: While many themes on marketplaces like ThemeForest are feature-rich, they often achieve this by bundling dozens of plugins and massive scripts. This can lead to significant bloat and slow performance. It’s better to start with a lean foundation and add only the specific functionality you need via plugins.
- Test Before Committing: Before switching your live site, use a staging environment to install and test a new theme. Run it through speed tests to see how it performs with your specific set of plugins.
Expert Insight: Even with a fast theme, it’s crucial to be mindful of how you build your pages, especially if you use a page builder like Elementor or Beaver Builder. These tools are incredibly powerful, but they make it easy to add excessive widgets, complex animations, and heavy design elements. When customizing your checkout page template, exercise restraint. For the checkout, simpler is almost always faster and more effective. Avoid using sliders, complex background videos, or dozens of widgets. Every element you add is another request the browser has to handle. A clean, focused design will not only be faster but will also keep the customer focused on the task at hand: completing their purchase.
Tip 9: Leverage Caching (The Smart Way)
Why it’s important: Caching is one of the most effective technologies for making a WordPress site faster. In simple terms, a caching plugin takes a dynamic WordPress page, creates a static HTML version of it, and serves that pre-built version to subsequent visitors. This is dramatically faster because it bypasses the need for WordPress to run all its PHP scripts and database queries to build the page from scratch for every single visitor. For pages like your homepage, blog posts, and product pages, this can reduce load times from several seconds to under a second.
How to do it: Implementing caching is as simple as installing a high-quality caching plugin.
- Choose a Reputable Plugin: Don’t just grab any free caching plugin. A poorly configured one can cause more harm than good. The best-in-class, user-friendly options are:
- WP Rocket: Widely considered the best premium caching plugin. It’s incredibly powerful yet easy to configure, with excellent WooCommerce compatibility.
- FlyingPress: A strong competitor to WP Rocket, also known for its great performance and ease of use.
- Install and Activate: Install your chosen plugin like any other.
- Follow the Setup Wizard: Most premium plugins have a guided setup that will apply the best settings for your site automatically.
Expert Insight: This is the most critical piece of advice for caching on an eCommerce site: you must ensure that your caching plugin is configured to automatically exclude the Cart, My Account, and Checkout pages from being cached. These pages are highly dynamic and must be generated in real-time for each specific user. If you were to serve a cached version of a checkout page, one customer could potentially see another customer’s personal information—a catastrophic security and privacy breach.
Fortunately, all reputable caching plugins like WP Rocket and FlyingPress are smart enough to detect that you are running WooCommerce and will automatically add these exclusion rules for you. However, it is your responsibility as the store owner to verify this. After activating your caching plugin, go through the settings and look for an “Exclude URLs” or “Never Cache URLs” section. You should see /cart/, /checkout/, and /my-account/ listed there. If not, add them immediately. Caching is a superpower for speed, but it must be used wisely to protect the integrity of your store’s dynamic functionality.
Conclusion
A faster checkout isn’t just a technical improvement; it’s a fundamental part of good customer service and a direct investment in your bottom line. By methodically working through these nine expert tips—from decluttering your forms and enabling guest checkout to leveraging smart caching and express payments—you can transform a frustrating process into a seamless experience. You don’t have to implement everything at once. Start with one or two of these tips today; even small changes can lead to significant gains in your conversion rates and overall customer satisfaction. The path to a more profitable store begins with a faster, happier checkout.
Meta Description
Ready to create a faster checkout in WooCommerce? Learn 9 expert tips to reduce cart abandonment, speed up your site, and significantly boost your sales and conversions.
Frequently Asked Questions (FAQ)
1. How do I skip the cart page and go directly to checkout in WooCommerce? You can enable this in some themes or use a plugin like “Direct Checkout for WooCommerce” to automatically send users to the checkout page after they add a product to their cart.
2. Will removing checkout fields delete my past order information? No, removing or hiding checkout fields only affects future orders. All data from your past orders is already saved securely in your database and will not be changed.
3. What is the best free plugin to make WooCommerce checkout faster? For field customization, “Checkout Field Editor & Manager for WooCommerce” is a great free option. For speed, a free caching plugin like “LiteSpeed Cache” (if your host supports it) can make a big difference.
4. How does enabling guest checkout affect customer accounts? Enabling guest checkout simply gives shoppers the option to buy without logging in. You can still allow customers to create an account if they choose, providing the best of both worlds.
5. Can a slow payment gateway cause a slow checkout? Yes, absolutely. After you click “Place Order,” WooCommerce communicates with your payment gateway. If the gateway’s servers are slow to respond, your entire checkout will be delayed, even if your site is fast.
6. Is it safe to use code snippets to modify my checkout? Yes, it is safe as long as you use a child theme or a dedicated code snippets plugin. This prevents your changes from being lost during theme updates and avoids the risk of crashing your site.
7. How often should I test my checkout speed? It’s good practice to test your checkout speed after any major change to your site, such as installing a new plugin, updating your theme, or changing your hosting plan, and at least once a quarter to monitor performance.